At first I planned to present my work for this chapter in the order of the techniques used, but the post ended up looking rather incoherent. I had worked with themes in different techniques rather than the other way round, so I will present it in this way.
1. Backgrounds
In Chapter 6, Raising the surface, I had liked woven backgrounds and their effect, so I prepared some for further work. A few examples:
 |  |
Above: background made with map prints and waste paper
| Detail with machine stitching along the edges of the strips
|
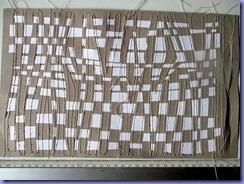 | Grey sketch paper, 110 g (very absorbing), and copy paper with a gesso coat, woven and stitched.
|
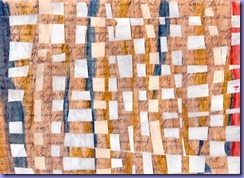 | Sample with the text of my poem written on a sheet which was then coloured with neocolor and woven with strips of gessoed paper. |
Assembling these backgrounds takes time, but it is meditative and a lot of fun. It also helps me to let go if I am too firmly fixed on a result. There is something to be said for repetition and letting my hands do the thinking.
2. Cornflowers
3. Poppies
 | I tried to create a printing block for the poppies with a technique from Module I, cutting an outlined shape to pieces. I aimed for a simple but recognizable shape.
The elaborate flowerhead is from an old illustration I found on the web. It is beautiful, but it suggests a rose rather than a poppy.
|
 |
Here are the first trials of my poppy shape in my sketchbook. They were printed with acrylics and various amounts of water to create texture in the petals.
|
 | Prints in my sketchbook with watery gouache on Kraft paper.
|
 | Pattern printed with gouache on A3 Kraft paper. I might use this for the paper connecting the covers and the book.
|
 | The poppies were printed with acrylics on a woven and stitched background.
|
 | I glued on poppy shapes cut from tissue paper with a rubbing of a shell with dark red wax pastels, washed with red gouache. The shapes are glued with one blob of glue, so most of it is loose.
|
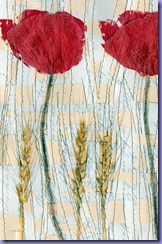 | detail
Rye ears were drawn with inktense pencils.
|
 | A more abstract version with a template, drawn with neocolor on the woven and coloured background shown above (point 1).
|
 | Another template version on a woven and stitched background, with gesso and neocolor. The flowers were drawn with inktense pencils. The texture of the stitching breaks up the drawings and makes them more individual. I took care not to be precise. |
| For the stems I let drops of colour run along machined lines. | |
| | |
4. Gun
| |
 | This gun was very beautifully crafted and has lots of lovely details. I like the shape of the hammer and drew it with neocolor (below left). Then I cut out a detail on my laptop and pushed it around in Picasa. The shape makes me think of a bird taking off.
|

|  |
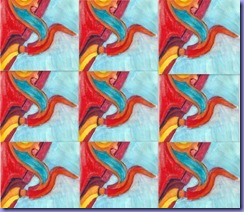
| 
|

| Another drawing, the trigger and the handle below the trigger, plus shadow, A5.
|

| Sketchbook page: Templates made from the above drawings, coloured with neocolor (left), and with silver and black ink. I suppose nobody would ever think of a gun when seeing this.
|
 | The patterned texture on the gun handle suggested zig zag stitch, so I tried this on an enlarged print (lazy!) of the photograph and liked the result. The paper is ordinary copy paper, good to stitch into, but I wanted a more sturdy paper which can also take colour.
|
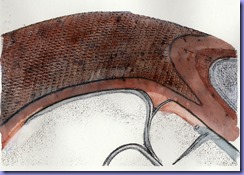 | So I enlarged the photograph further, printed it on cartridge paper (A5) and coloured with Brusho and Neocolor II. I punched holes with an awl to prepare for stitching, but found that the pattern was too small. The holes however make for a good texture by themselves.
|
 | An even more enlarged print of a detail of the handle, coloured with Inktense pencils and stitched with a thick silk sewing thread. The stitching was then rubbed with gold wax pastel. |
5. Wheat / rye / small spelt
 | 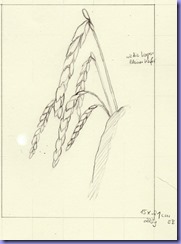 |
| Drawing of wheat ears | Drawing of small spelt. I took photographs of this old variety in the gorgeous botanical gardens of Bonn University during my lunch break. I have a fabulous workplace!
|
 | I experimented with lift-off technique (left, A5). For drawing I used a black and white copy of a photograph and pushed it to different positions to create the feeling of a wheat field.
Below left: the sheet of firm cartridge paper coated with soft pastels and wax crayons after lifting off the upper layer. I like the enlarged view on the right.
|

|  |
 | Lift-off technique with oil sticks and washes of Brusho.
|
 | I made a printing block from the drawing of the small spelt and tried it on an old paper bag with acrylics. |
6. Pop-up
 | There is no shortage of tutorials for pop-up techniques on the internet. I made a couple of trials with waste paper to understand the principle.
The trials form an insert in my sketchbook.
|
 | Usually I am not bad at spatial thinking, but it took me some time to figure out how to make a shape stand up. I need a moon …
|
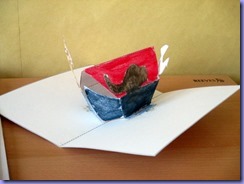
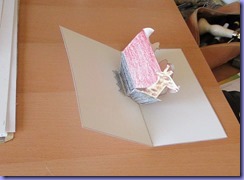 | Following the instructions on http://wp.robertsabuda.com I made this lovely ark and coloured it with neocolor. It helped me a lot to understand how it works. |
 | |


