I have numbered the images continually from part 1, so here I start with P 44.
2. Developing the drawing: Tlingit shaman mask

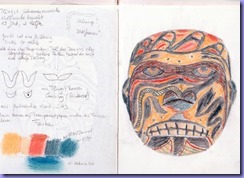
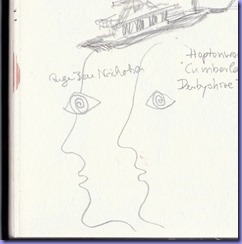
For reference here once more the pastel drawing from my skechbook.
I began with some colour variations of my drawing on Picasa. Here is a collage of the ones I liked most. The grey version in the lower right corner looks spooky. I like the strong warm colours in the upper left corner. This is my colour scheme for most of the work.
P 44


P 45
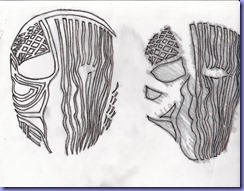
To examine the face more closely I copied a traced
line drawing on a sheet of copy paper and cut it up.
Then I made several arrangements of the parts, taking
them away step by step. It is interesting to see the
changes in the expression when
the position of the parts is changed.
I was especially fascinated by the lines of the eye
section
 | P 46
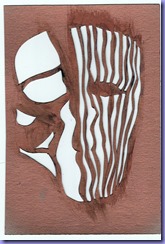
Cutting up the mask like I did in the first step led me to make a cut paper version using pre-decorated paper from former modules. The background paper was also made in a former module. The pattern in the wavy stripes seem to indicate the right cheek.
For the eye section I cut a red and a black layer and glued the layers in a mirror arrangement. |
| | |
 | P 47
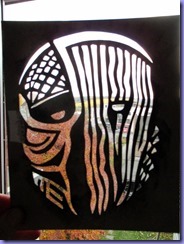
I remembered the paper cuts with several sheets of papers from module 1 and decided to try this. Here is the photograph of the paper sandwich after cutting, on top is the copy paper with the lines. I put this sandwich very carefully in a plastic file pocket, but still the parts spread out and were displaced. It looks a little psychedelic. |
| | |
 | P 48
Version in cut paper with three layers on a black background as the fourth and darkest layer. |
| | |
 | P 49
Working with a Gelli plate: I put the Gelli plate on my cut paper sample (P 48) and painted areas of colour on the plate. I covered the dried colour with a layer of heavy acrylic gel and pulled a print. It did not quite work, for the paper got pulled away in places, and some of the colour remained on the plate. It had not dried enough. I washed the uncovered paper with walnut ink. Now this is really a bear, quite wild. I could never paint like this on paper. |
| | |
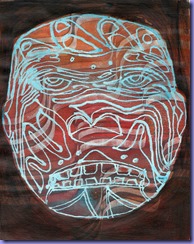 | P 50:
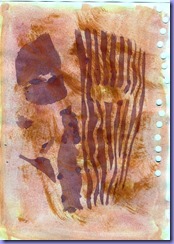
The lines of the mask were drawn with masking fluid on a sheet of cartridge paper. When this was completely dry I covered the Gelli plate with three colours, drew wavy lines with a cut up credit card and pulled the print. After drying I painted around the face with burnt umber and washed the lines with light blue gouache. |
| | |
 | P 51
Lifting off dried gold colour in fine lines from the Gelli plate. Fine lines have formed on the edges of the shapes. |
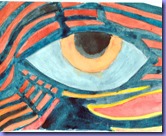
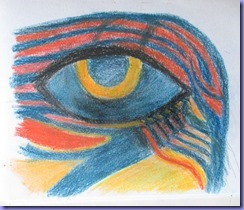
The eye
 |  |
P 52
The pastel drawing in my sketchbook (A5). I was fascinated by the lines around the eyes of the mask.
| P 53
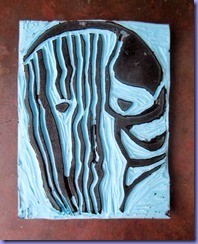
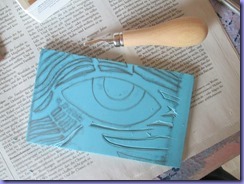
Cutting a printing block based on my drawing, size A6. |
| | |
 |  |
P 54
First print on A4 paper with acrylics
| P 55
washed with gouache
|
 |  |
P 56
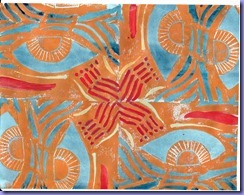
Print with acrylic on A4 paper
The middle shape is an ornament in itself.
|
P 57
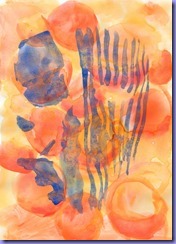
With watercolour wash and red pastel in the middle.
|
| | |
 | P 58
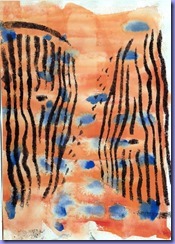
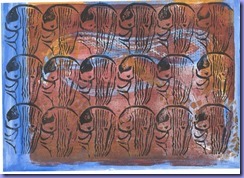
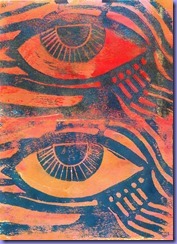
Printed from a gelli plate with acrylics. The basic colour was gold, I printed into the first layer on the plate with blue acrylics and then drew the print. There is also dried colour from a former print.. |
| |
 | P 59
Print with Brusho wash in two colours, A 5 |
| |
 | P 60
Printed on a different kind of line printing and sewn lines from Module 3. Two pages size A5
|
| | |
| | |
 | P 61
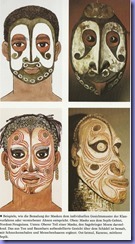
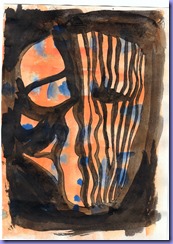
Why not combine the Nuba face and the eye? Both have a strong line pattern which combine and form interesting shapes. The Nuba face was drawn from a tracing and painted with bister ink, the eye was printed with black acrylics, an ochre wash with gouache was added. Finally the eyeballs were painted with white gouache and the negative spaces filled with red gouache. I like this a lot.
|
 | P 62
Another combination: Nuba face, the eye section of the Tlingit mask, both printed from the Gelli plate, and the eye printed over with the vinyl block. |
| |
 | P 63
Rolling acrylic colour on the printing block left the pattern on the rubber brayer. I rolled this on an envelope for later use in my folder.
|
| | |
| | |
 | P 64
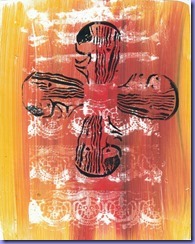
I cut another printing block, size around 4 x 4,5 cm, with a quarter of the middle ornament (P56 and 57) and printed a pattern on one of the envelopes prepared for my folder. |
| |
 |
P 65
Random printing and a few pastel marks suggest a craggy face. |
| | |
 | P 66
I covered the Gelli plate with turquoise acrylics and pressed the printing block into the colour to take colour away. This is the second print from this layer of colour, with a colour wash of burnt siena gouache. It seems I am a long way away from the face now. |
| | |
 | P 67
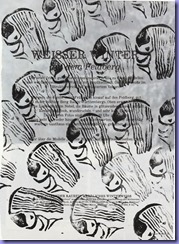
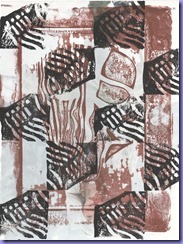
A Gelli print of the Nuba face on a catalogue page was overprinted with the ornament block in a geometric pattern. It looks like winter – leaf skeletons.
|
| | |
P 68
What goes into my folder: | |

Folder
 | P 69
Front view. Size: 34 x 23 cm.
I glued newspaper to a piece of cardboard from a book package, covered it with gesso and glued a page from my work on it. The background was painted with gouache.
|
| | |
 | P 70
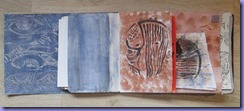
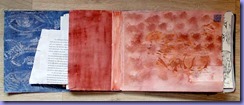
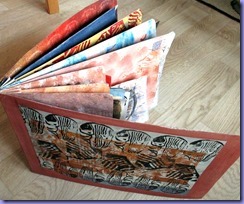
The folder opens like a book. I like the panorama format and the space it creates. The folder is constructed with three A5 and four A4 envelopes which were glued to a folded piece of calendar cardboard. This piece also builds the spine. |
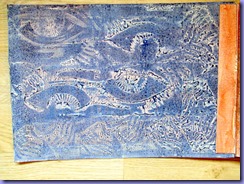 |
P 71: Gouache painted on gesso, the eye printing block was pressed into the wet colour. |
| | |
 | P 72
The envelopes were coloured or sponged with gouache. I cut back the open edges a bit to make it easier to put paper into them. Some of the evelopes have a window.
|
| | |
 | P 73
I put stencil prints or prints on some of the envelopes, but I did not want to decorate them too much. |
| | |
 | P 74 |
| | |
 | P 75
This envelope was decorated with leftover paper shapes from P 47/48. They remind me of Miro shapes. |
| | |
 | P 76
I cannot work on the floor without inspection from my cat. |
| | |
 | P 77
The window in the envelope P 64. |
| | |
 | P 78 |
 | P 79
The envelope was printed with the roller, blue gouache was added later around the printed strip. |
 | P 80 |
| | |
 | P 81
Inside of the folder back: gouache was rolled on gesso and the small Nuba stamp was pressed into the wet colour. |
| | |
 | P 82
Folder back, decorated with a Gelli printed page with texture and a Nuba stencil. |
| | |
Construction of the folder
 | P 83
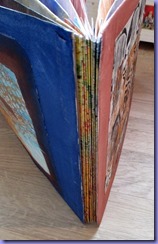
This is the folded piece of cardboard which builds the spine and carries the envelopes.
Each fold is 2 cm deep. At the beginning and the end there is one fold each for the covers. |
| | |
 | P 84
At the spine the image on the calendar cardboard is still visible, at least the colours. The folds are glued together at the back side. |
| | |
 | P 85 |
| | |
 | P 86
With this method you can combine envelopes of different sizes in one folder. |
| | |
Notes
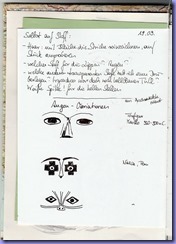
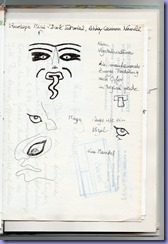
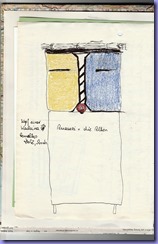
I have made notes during work on this chapter in my sketchbook and on slips of paper which I then glued in.

P 87, notes on construction and artwork
However, I put my thoughts mostly on a new blog I opened in September. I started it because I felt the need to keep a kind of journal which contains all creative work regardless of technique or material or whatever, as well as photographs etc. Here is the link: blaufrau57.blogspot.de
That blog has more than fulfilled my expectations. It has developed into a space for gathering, looking, reflection, finding connections and coherence, and, most of all, a feeling for what I am really doing. By labelling the posts I can easily access my coursework or any other theme. I can also think in German about my work – as the course is in English and I read a lot of books and online material on artwork in English, my thoughts tend to be in English, too. Thoughts in German give me another angle and are close to my heart (much as I love the English language).
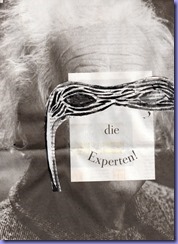
Finally: The eye section of the shaman mask on a well-known face 
![]()


